Air-drying—it seems like a simple enough concept, no? Wash your hair and just let nature take its course. But if you’ve ever actually air-dried your hair, you know that if you want your strands to look smooth and frizz-free, it’s never quite that simple. In fact, more often than not, our hair tends to turn into a limp, frizzy mess, especially during those brutal summer months when it seems like the elements are just all out to get us. If this sounds familiar to you, don’t worry—you don’t need to give up on your air-drying dreams just yet. You just need to start with the right prep and the right arsenal of products, both of which we’ve laid out for you below!

1. Hydrate in the shower
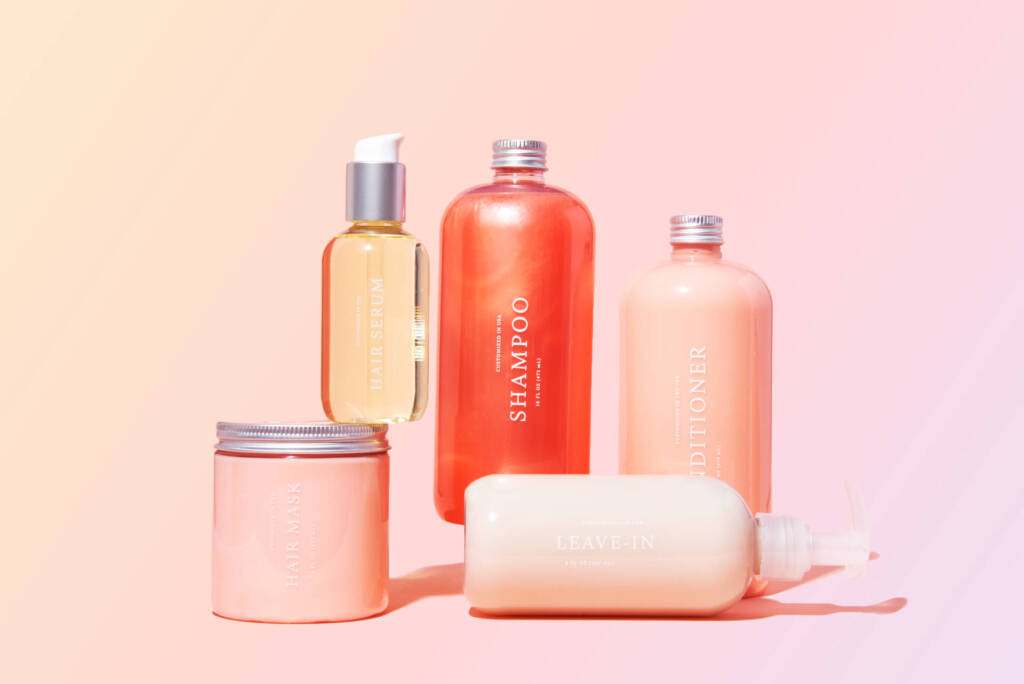
If you want smooth, frizz-free hair, the first step is to make sure that the outermost layer of your hair (a.k.a the cuticle) is closed or laying flat. The best way to ensure that is to opt for a gentle, hydrating shampoo and conditioner, preferably one that is free of sulfates (those cleansing agents responsible for the rich lather in shampoos) and packed with moisturizing ingredients like glycerin. In addition to being an excellent humectant, glycerin can also help combat frizz by penetrating the hair and hydrating it from the inside out, which is what ultimately helps keep the cuticle closed. Not sure where to start in your product search? Look no further! Our customized shampoos and conditioners not only check off both of those boxes, but they also give you the option to add a number of other frizz-fighting hair goals to your formula, including “anti-frizz,” “shine,” “straighten,” and “curl definition,” so your hair can stay smooth and healthy no matter what the weather throws at you.
2. Rinse with cold water
It may not sound pleasant, but another easy way to help seal your cuticle is to rinse out your conditioner with cold water before getting out of the shower. Don’t worry—it doesn’t need to be ice cold; it should, however, be colder than room temperature. By doing so, you’ll help your cuticle to lay more smoothly, thus sealing in the moisture from your conditioner, which means less frizz and more shine for you (a.k.a precisely what you want when setting your hair up for the perfect air-dry).

3. Dry off the right way
If you think your expensive bath towels are gentle enough to be used on your hair, think again. As it turns out, the fibers in most bath towels are still far too harsh to be used on wet hair and have the potential to cause frizz and even worse, severe damage. Instead, reach for a plush microfiber towel, which is not only more gentle on your strands but also specially designed to help dry your hair faster, thus reducing the amount of swelling that occurs in wet hair, which is what makes it vulnerable to frizz and damage in the first place.
4. Comb away tangles
Once you’re done soaking up some of that excess water, it’s time to gently comb away any knots or tangles using a wide-tooth comb. A good comb is the ultimate ally for wet hair as the extra space between the teeth allows the hair to pass through it easily without any added friction or pulling. To help minimize damage, start combing at your ends, working your way up to the roots until all knots are removed.
5. Apply leave-in
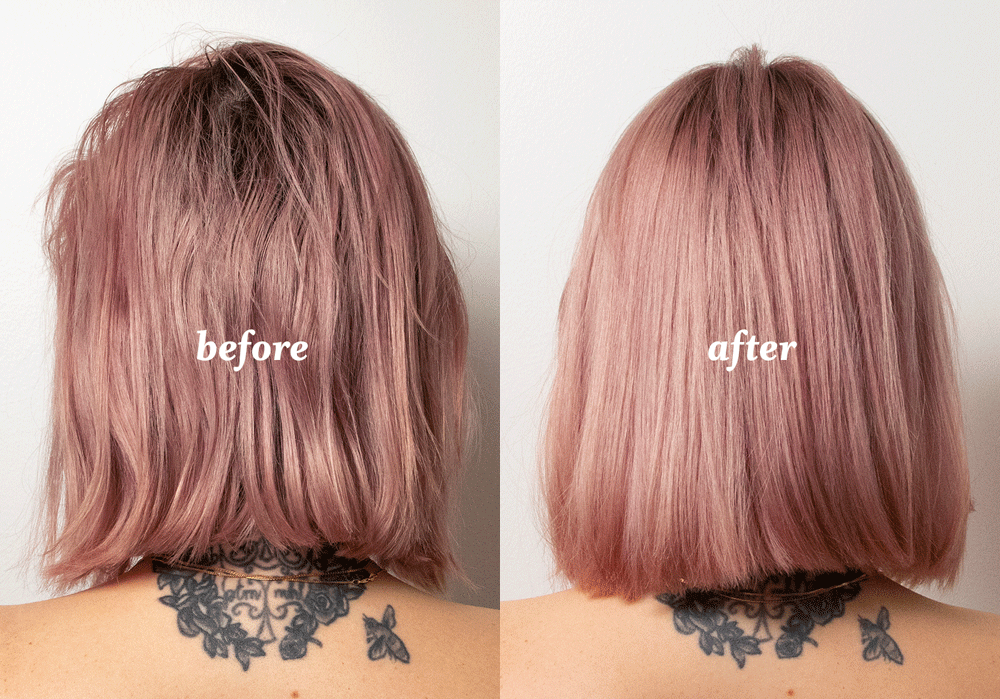
Nothing ruins a good air-dried look quite like frizz. To combat those pesky flyaways, it’s important to make sure your hair is well moisturized, which is why we always reach for our hydrating leave-in treatment. In addition to providing your hair with a hefty dose of long-lasting moisture and nourishment, it also forms a protective barrier around your strands to help block out those things that cause frizz, like humidity and heat damage. Plus, like with all of our products, you’ll be able to choose the hair goals of your unique formula, which means you can add things like “anti-frizz,” “deep condition,” and “fix split ends,” to your leave-in treatment so you can achieve the exact look you want (with or without hot tools).

6. Set your hair
Now that your hair is primed for styling, it’s time to determine how you want your hair to look once it’s finished air-drying. If you’re looking for a more beachy, tousled look, we suggest spritzing your strands with a sea salt spray, like Playa’s Endless Summer Spray, which will not only help enhance your hair’s natural wave and add a bit of soft texture, but will also help shield it from any potential UVA/UVB damage. Another one of our favorite hacks is to tuck your hair behind your ears while it dries (feel free to secure the hair with bend-resistant clips to help hold the look in place), which will help create those flattering, face-framing pieces we all love so much.

7. Add some texture
For those with straight or fine hair, you may want to consider adding some extra body and texture to your hair to keep your strands from falling flat. To do so, start by applying a volumizing mousse through the length of your strands, combing it through to ensure even distribution. Next, create a couple of loose braids and clip them up into twists until dry. Braiding the hair creates tension, which helps the hair to dry smooth while twisting the braids around each other will stop your hair from puffing up as it dries. Once your hair is dry, undo your braids and gently shake your strands loose. You can also apply a bit of sea salt spray throughout to give them an added boost of volume and definition.

8. Let it dry
Once your hair is styled and set, it’s time to kick back and let it dry. Throw on a face mask, turn on your favorite Netflix show, or kick back with a good book. The time is yours, and you’ve earned it! And don’t worry, if you’re more of a late-night shower-taker you can still hit the hay and air-dry your hair at the same time. Just be sure to set your style by sleeping in buns, braids, or twists, so that your hair doesn’t lose its shape during the night. We also suggest swapping out your regular cotton pillowcase for a silk one, as it’s a far smoother and more gentle fabric that will help maintain your hair’s natural oils while you sleep, thus reducing the amount of friction, frizz, and damage it’s exposed to overnight.
9. Hands off!
As hard as it might be, the last step in your journey to perfectly air-dried hair is to simply let it be. That means no touching, scrunching, brushing, or finger-twirling your strands. By doing so, you’ll only be roughing up the hair cuticle, essentially undoing all of the hard work you’ve done up until this point. This tidbit also holds especially true for oily haired girls, as the natural oils in your hands can be transferred to your hair, leaving behind a greasy residue that will weigh your hair down, making it look flat and well, greasy. Instead, embrace your inner lazy girl and let your strands do their thing.
Want to create the perfect shampoo and conditioner for your air-dried look? Head here to take the hair quiz!

