Let’s face it: Perfectly undone waves have been and always will be one of the most coveted hairstyles of all time. Unfortunately, they’re also famously one of the hardest to nail down. Unless you happen to be one of the lucky few born with naturally wavy hair, you don’t need us to tell you that achieving waves that look both cool and effortlessly tousled rather than just stiff and frizzy is a seemingly near-impossible task. That is, until now. We’ve tried nearly every “hairstylist-approved” technique and award-winning sea salt spray out there (to no avail, we should add), but it wasn’t until our own senior vice president of growth, Kari Skitka, showed us her flawless “S wave” technique that we were finally able to achieve the soft, lived-in waves of our dreams. Best of all, it’s super easy to do (we promise!). Below, we had Kari break down her go-to S wave technique to help you get the look at home. All you need is a flat iron, your customizable leave-in treatment, and a touch of serum.
https://www.instagram.com/tv/B4m8iqYhV6n/?utm_source=ig_web_copy_link
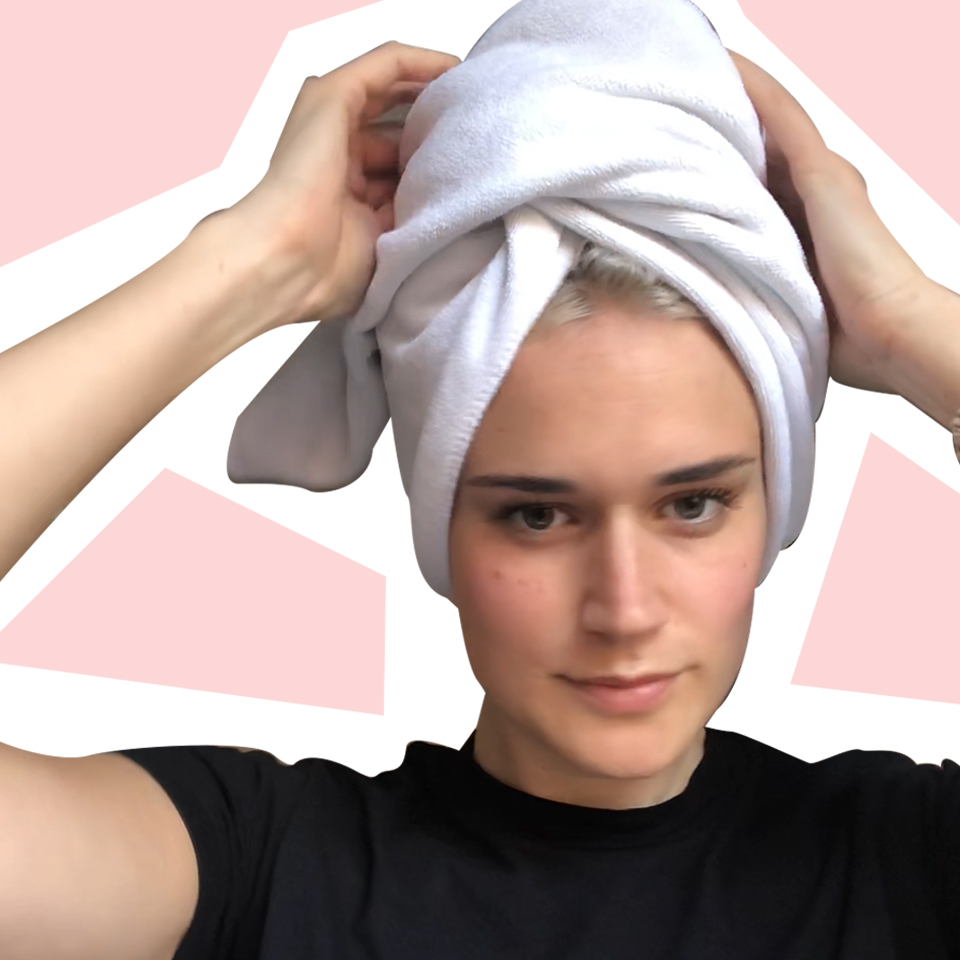
1. Towel dry your hair
After hopping out of the shower, use a microfiber towel to gently squeeze out any excess water from your hair. The towel’s softer fabric is not only more gentle on your strands but is also specially designed to help dry your hair faster, thus reducing the friction and damage it’s exposed to. Follow this step by gently detangling your hair with our new, wide-tooth comb for a more hair-healthy option than your standard brush.

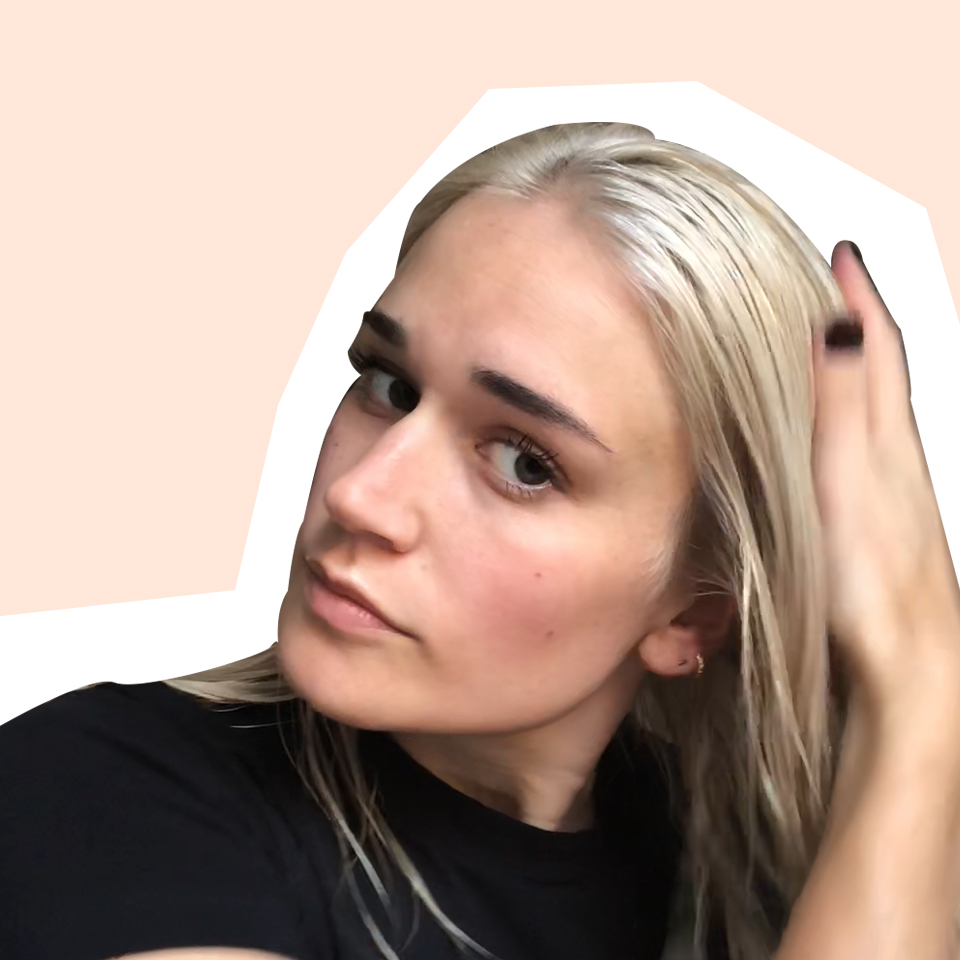
2. Apply leave-in treatment
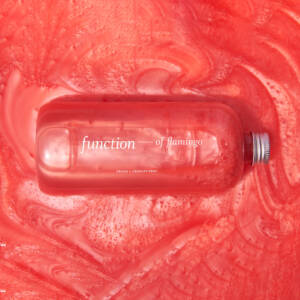
When heat styling your hair, it’s important to always prep your hair with a high-quality heat protectant beforehand, which is why we recommend lightly coating the bottom half of your hair with our customizable leave-in treatment. In addition to providing your hair with a lightweight dose of long-lasting moisture and nourishment, it also forms a protective barrier around your strands to help block out frizz, humidity, and heat damage. Plus, like with all of our products, you’ll be able to choose the hair goals of your unique formula, which means you can add things like anti-frizz, shine, and hydrate, to your leave-in treatment to give your hair an extra boost of their benefits all day long.
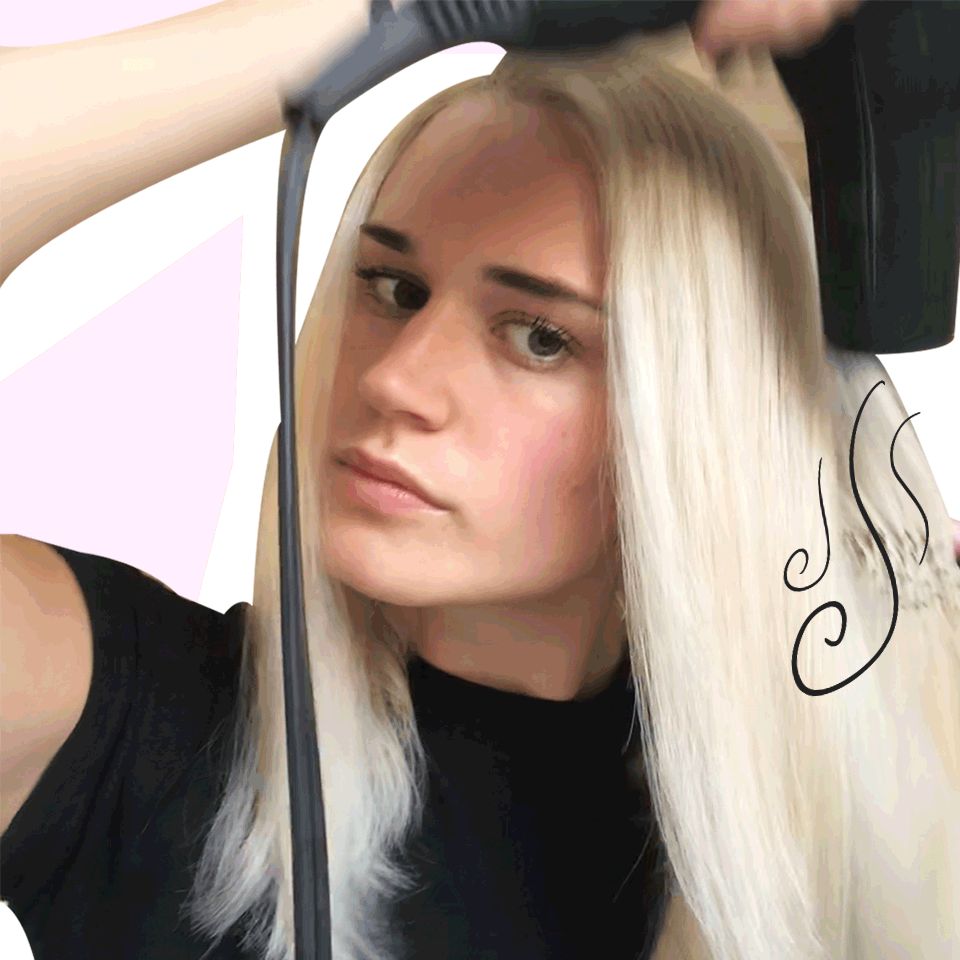
3. Blow-dry your way
Once your hair is prepped, continue by blow-drying your hair until it’s completely dry.
4. Partition your hair
Create a one- to two-inch section of hair for curling—how small or large depends on your hair’s density. Generally, if you have thicker, more coarse hair, you’ll want to opt for a smaller section. If you have fine, delicate hair, larger sections will likely work best, although you should feel free to experiment.
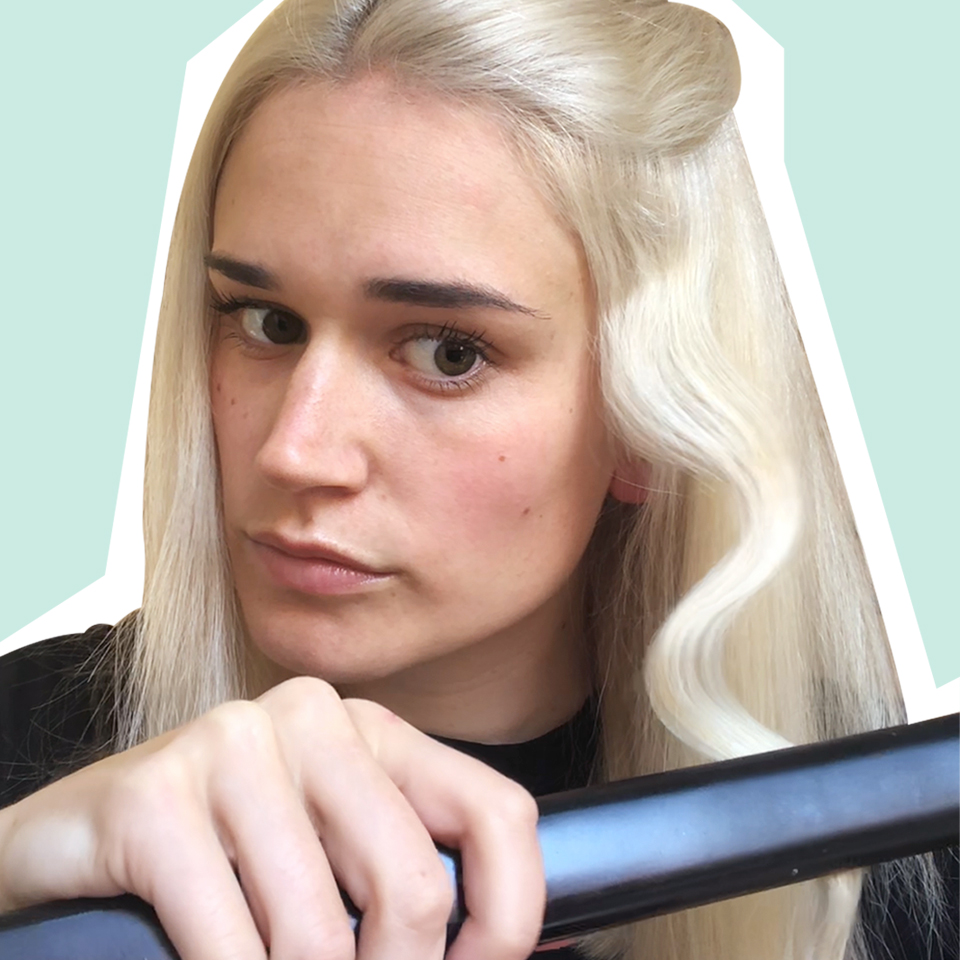
5. Create your S wave
Using your flat iron of choice, start by creating an S-shaped bend in your hair. Once the curve shape is in place, grab your flat iron and carefully tap over the curve to help set the shape. Continue by creating a bend in the opposite direction to create a full S-shape, and follow over it with your flat iron. Repeat this process throughout the rest of your hair.
PRO TIP: Set your flat iron to a lower heat setting than usual to help avoid creasing.
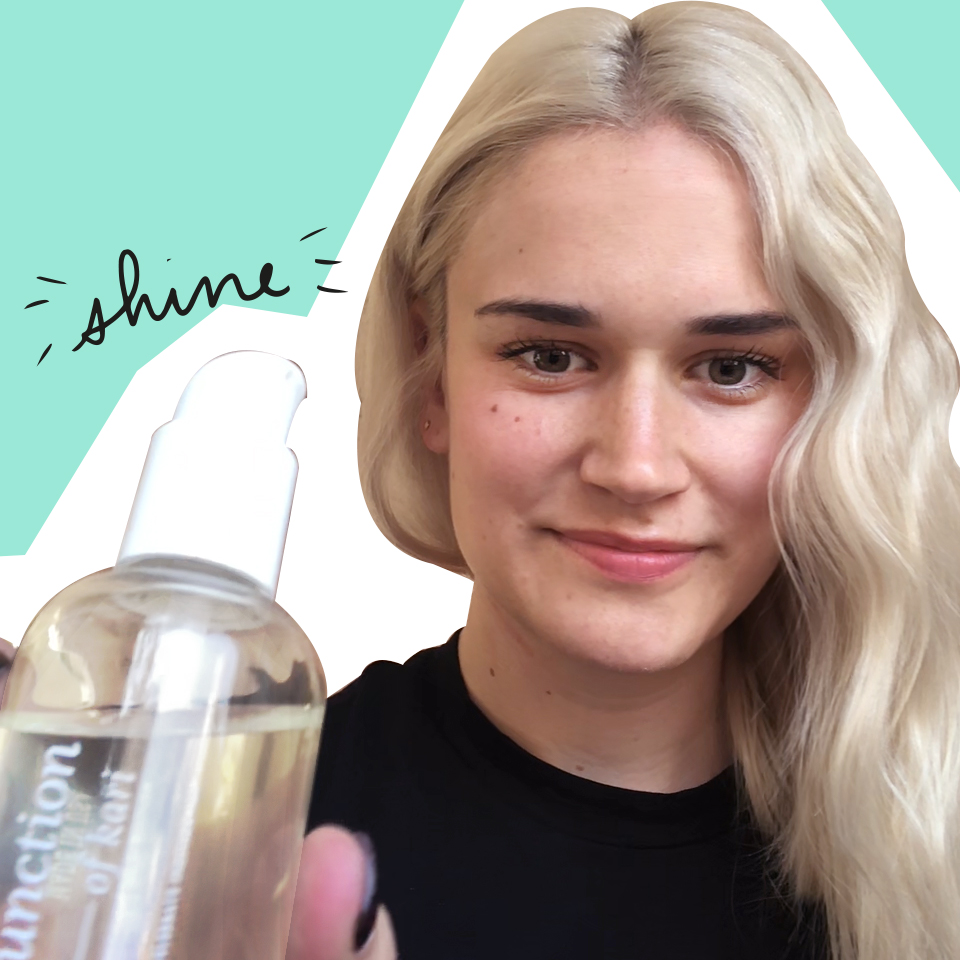
6. The finishing touches
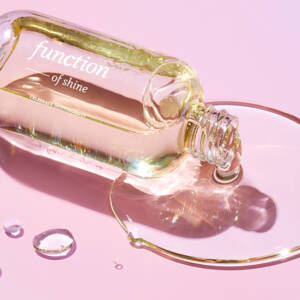
To complete the look, apply a drop or two of your customizable hair serum to the palms of your hands and gently run your fingers through your hair to help loosen and separate your waves, while also sealing them with an added touch of shine. If your hair is fine, you may also want to spritz a bit of texturizing spray throughout to help provide added hold and definition to your gorgeous new waves.
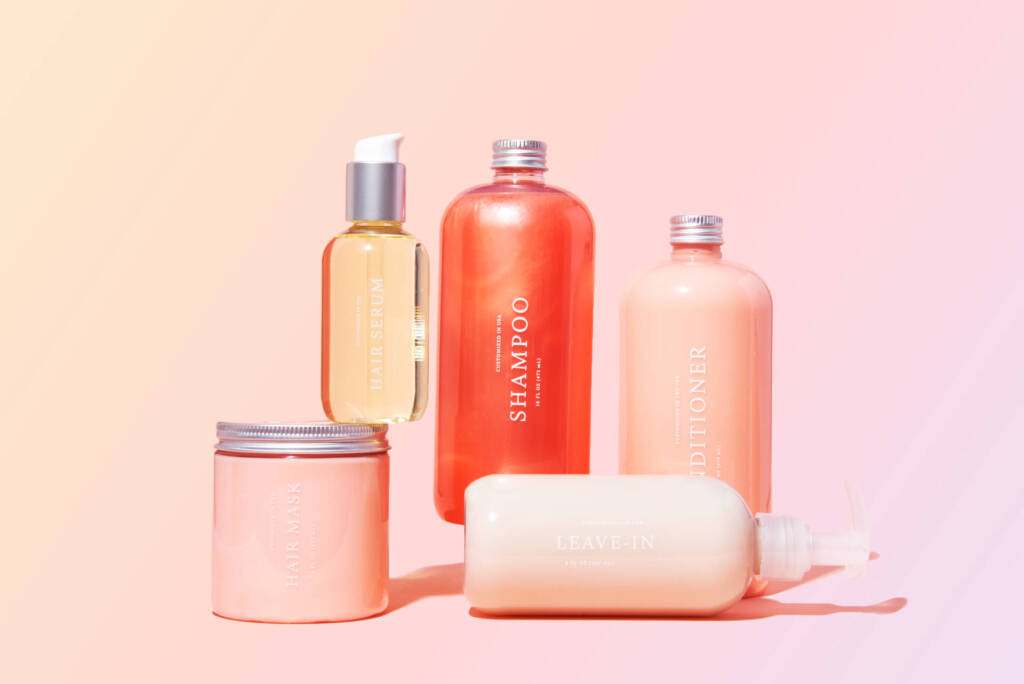
Haven’t tried our customizable leave-in treatment or hair serum yet? Try them now by taking the hair quiz here!